Recipe Card Blocks PRO includes multiple color options both in the Settings page and in the Block settings, so make sure to check those sections if you want to make some changes.
Color Options in the Settings page
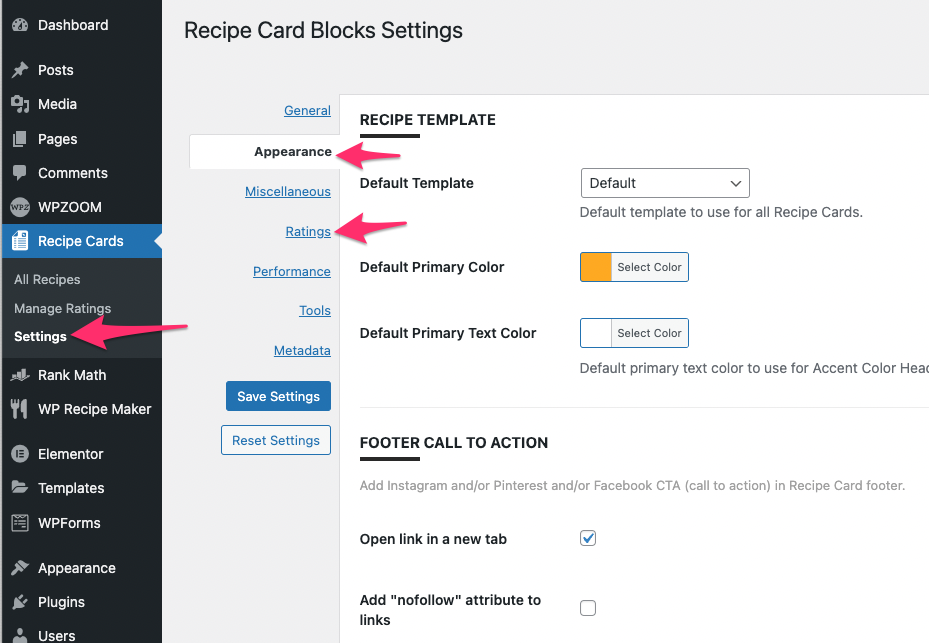
In the Appearance tab you can change global colors which will be applied to future recipes or recipes in which the Style wasn’t changed.
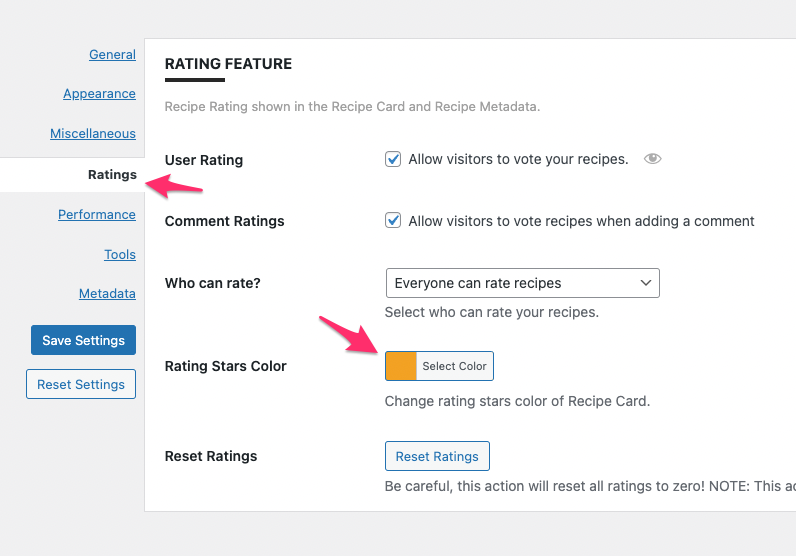
In the Ratings tab you can change the rating stars color:
When editing a recipe, you will find that some color options are also available in the Block settings:
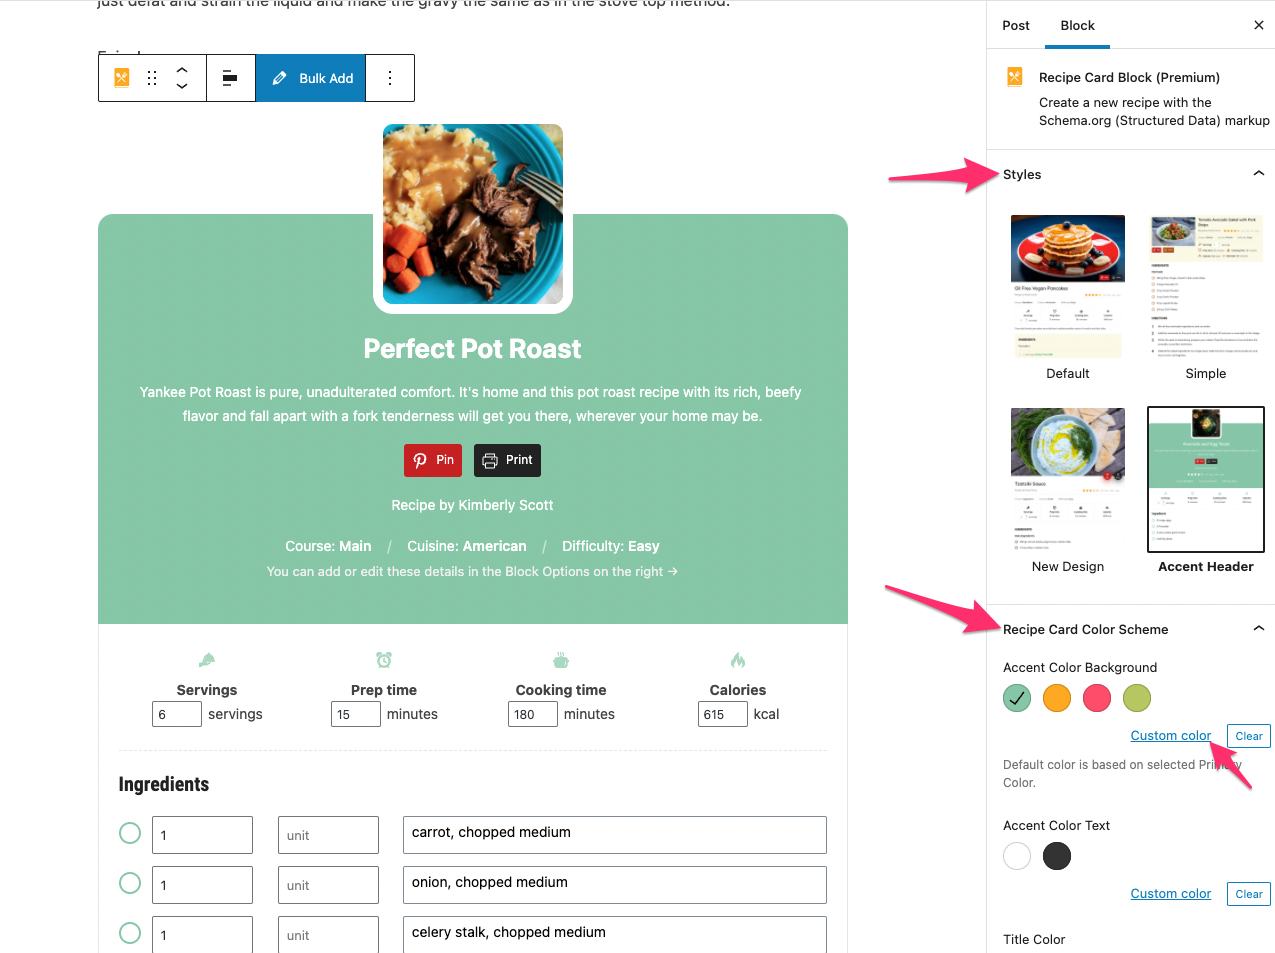
Please keep in mind that making changes to individual blocks will not affect other recipes on your website. Colors added in the Block settings will override any color changes made in the future in the Settings page of the plugin.
If you want to make more changes to the recipe blocks, like changing the fonts or additional colors, then you can do that by applying custom CSS code.
Looking for an easy way to customize your website?
Try YellowPencil Pro, a Visual Design Tool for WordPress.
Using this method you’ll be able to customize elements that can’t be modified using the built-in styling options from your plugin.
In WordPress you can add Custom CSS code directly from Customizer > Additional CSS:

By adding custom CSS code you can easily change fonts, colors, background, margins and paddings of any element on your website, including the recipe blocks:
CSS selectors can be found by using your browser’s web inspector tools. This is the preferred way to view CSS because it’s more comprehensive and will show you all the CSS that applies rather than just a subset of it.
These three basic steps will work in most current browsers to open the web inspector:
The panel will show the HTML for the element you clicked as well as all the CSS that applies to it. You can click on different HTML elements in the panel and then look at the CSS on the right to figure out what CSS can be copied into your Custom CSS panel to make design customizations on CSS.
Here is a video walkthrough showing how the web inspector works in Google Chrome:
Once you found the needed selectors to modify, copy your CSS code with the changes you need and insert it in the Customizer > Additional CSS.
Other resources:
CSS Basics
A Web Inspector Tutorial for Front-End Developers
[7 min video]: Using Custom CSS Plugins to Edit WordPress